I saw a monster fairing fitted to a Gt1000 at the Corbin seats web site (here) and it looks great. Tried the same with items sourced in Australia.
Thought I might pass on these notes in case someone else out there thought of doing the same.
The carbon fibre fairing and screen was purchased from Racecon Products (Australia) and I made some fittings to suit.
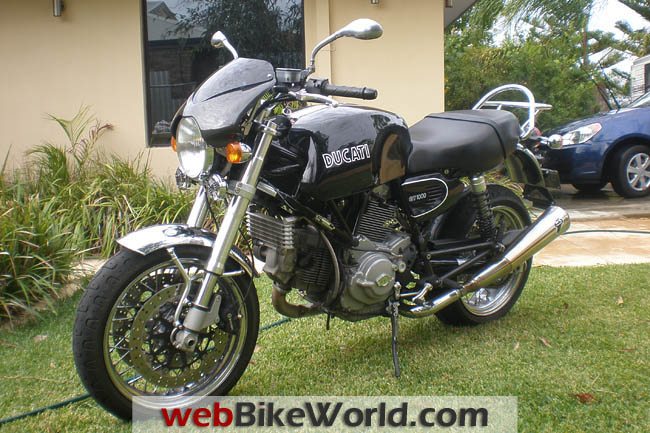
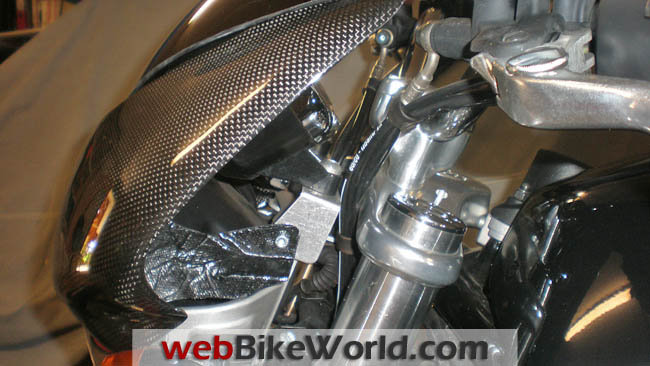
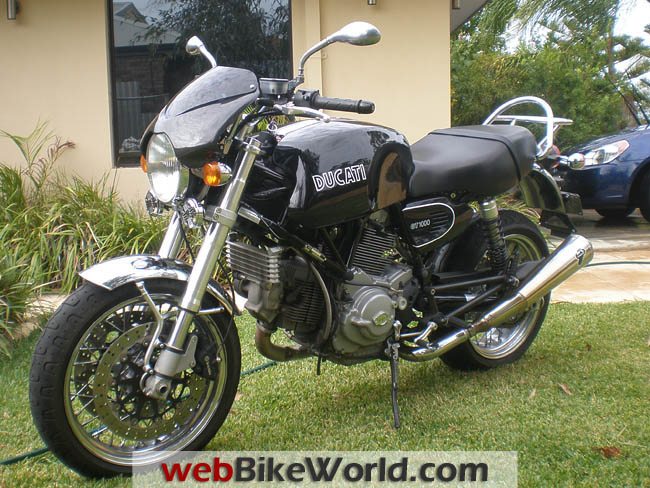
Before picture of bike below, just in case you haven't seen one!
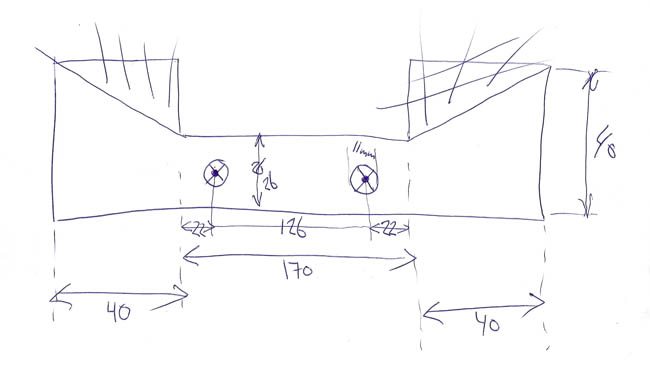
Made a bracket first to fit under the headlight mounts. Used a sheet of 1.5mm aluminium I had in the shed and jig-sawed out the following shape, it looks like this:
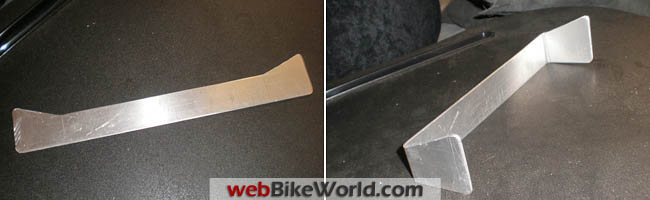
Bend over the ends as per following picture and fit under the headlight mount:
Mount the fairing to suit the best look and mark/drill some 5mm holes for the screws. I used some 5 mm x 10 mm long Allen screws with self locking nuts, just to stay with the Dukes style, purchased from Bunnings. I did have to remove some of the carbon bits with a cutting disc on a Dremel.

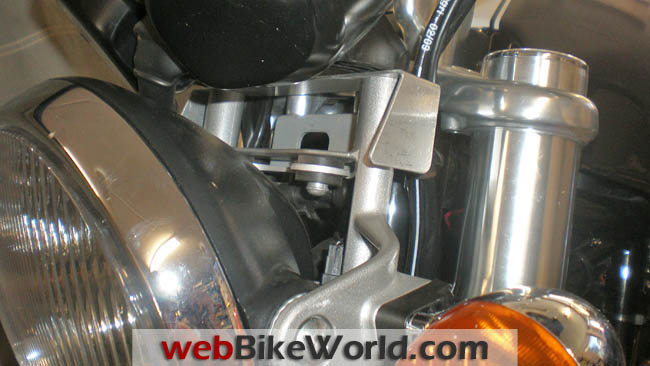
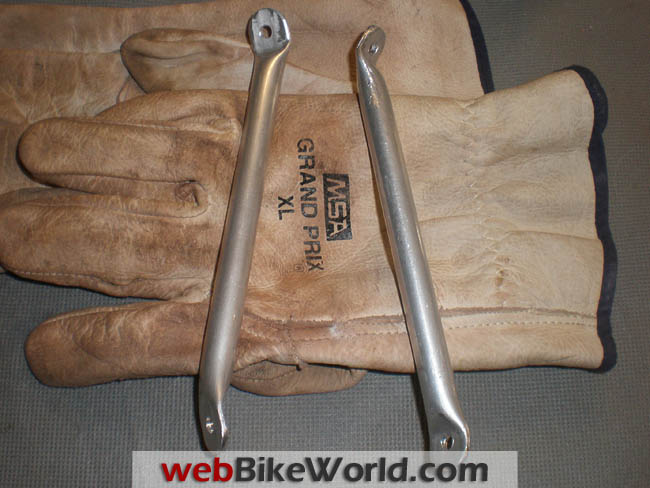
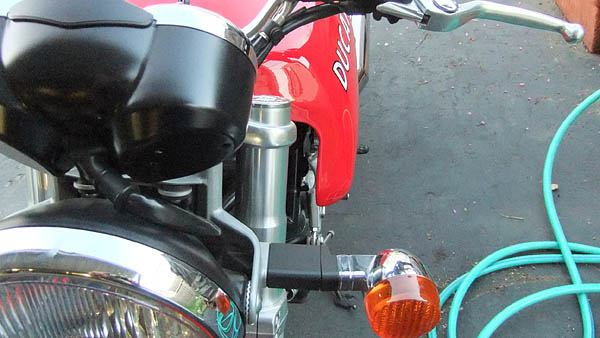
Next, I made a couple of uprights from 12mm ali tubing and bent the ends to suit the bracket and the screen mount screws. If I did this again, I would try some 6mm stainless solid rod. Might be a better look.
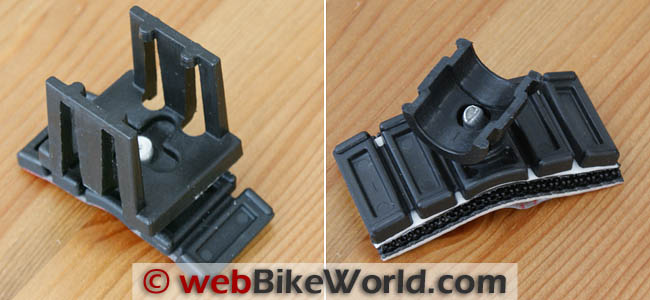
Drill some holes to suit the 5 mm screws (photo above).
Put the uprights in as per the following photo:
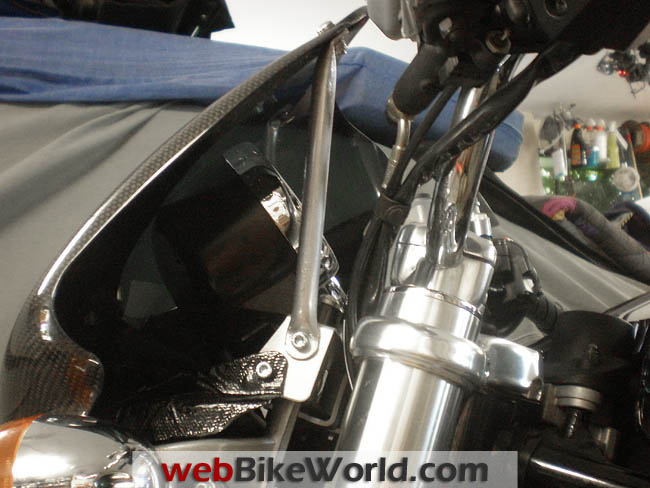
And this is what you end up with (Until the next project). And I'm real happy with it!
'Just Ride > 용품' 카테고리의 다른 글
| 몬스터 어퍼페어링..나도..해봐 (0) | 2011.05.14 |
|---|---|
| 몬스터 어퍼페어링..나도..해봐 (0) | 2011.05.14 |
| 강림하신...지름신... (0) | 2011.02.17 |
| [스크랩] GSR600 리어브레이크 디스크 (0) | 2010.11.10 |
| FieldSheer TRK PADDOCK II 추동 자켓 판매 (0) | 2010.10.28 |